💡The " Notion Life Community " is now open!
By subscribing, you can read all paid articles , and you also get benefits such as Notion support for questions and study sessions . Click here to join the community where you can connect with many Notion users!
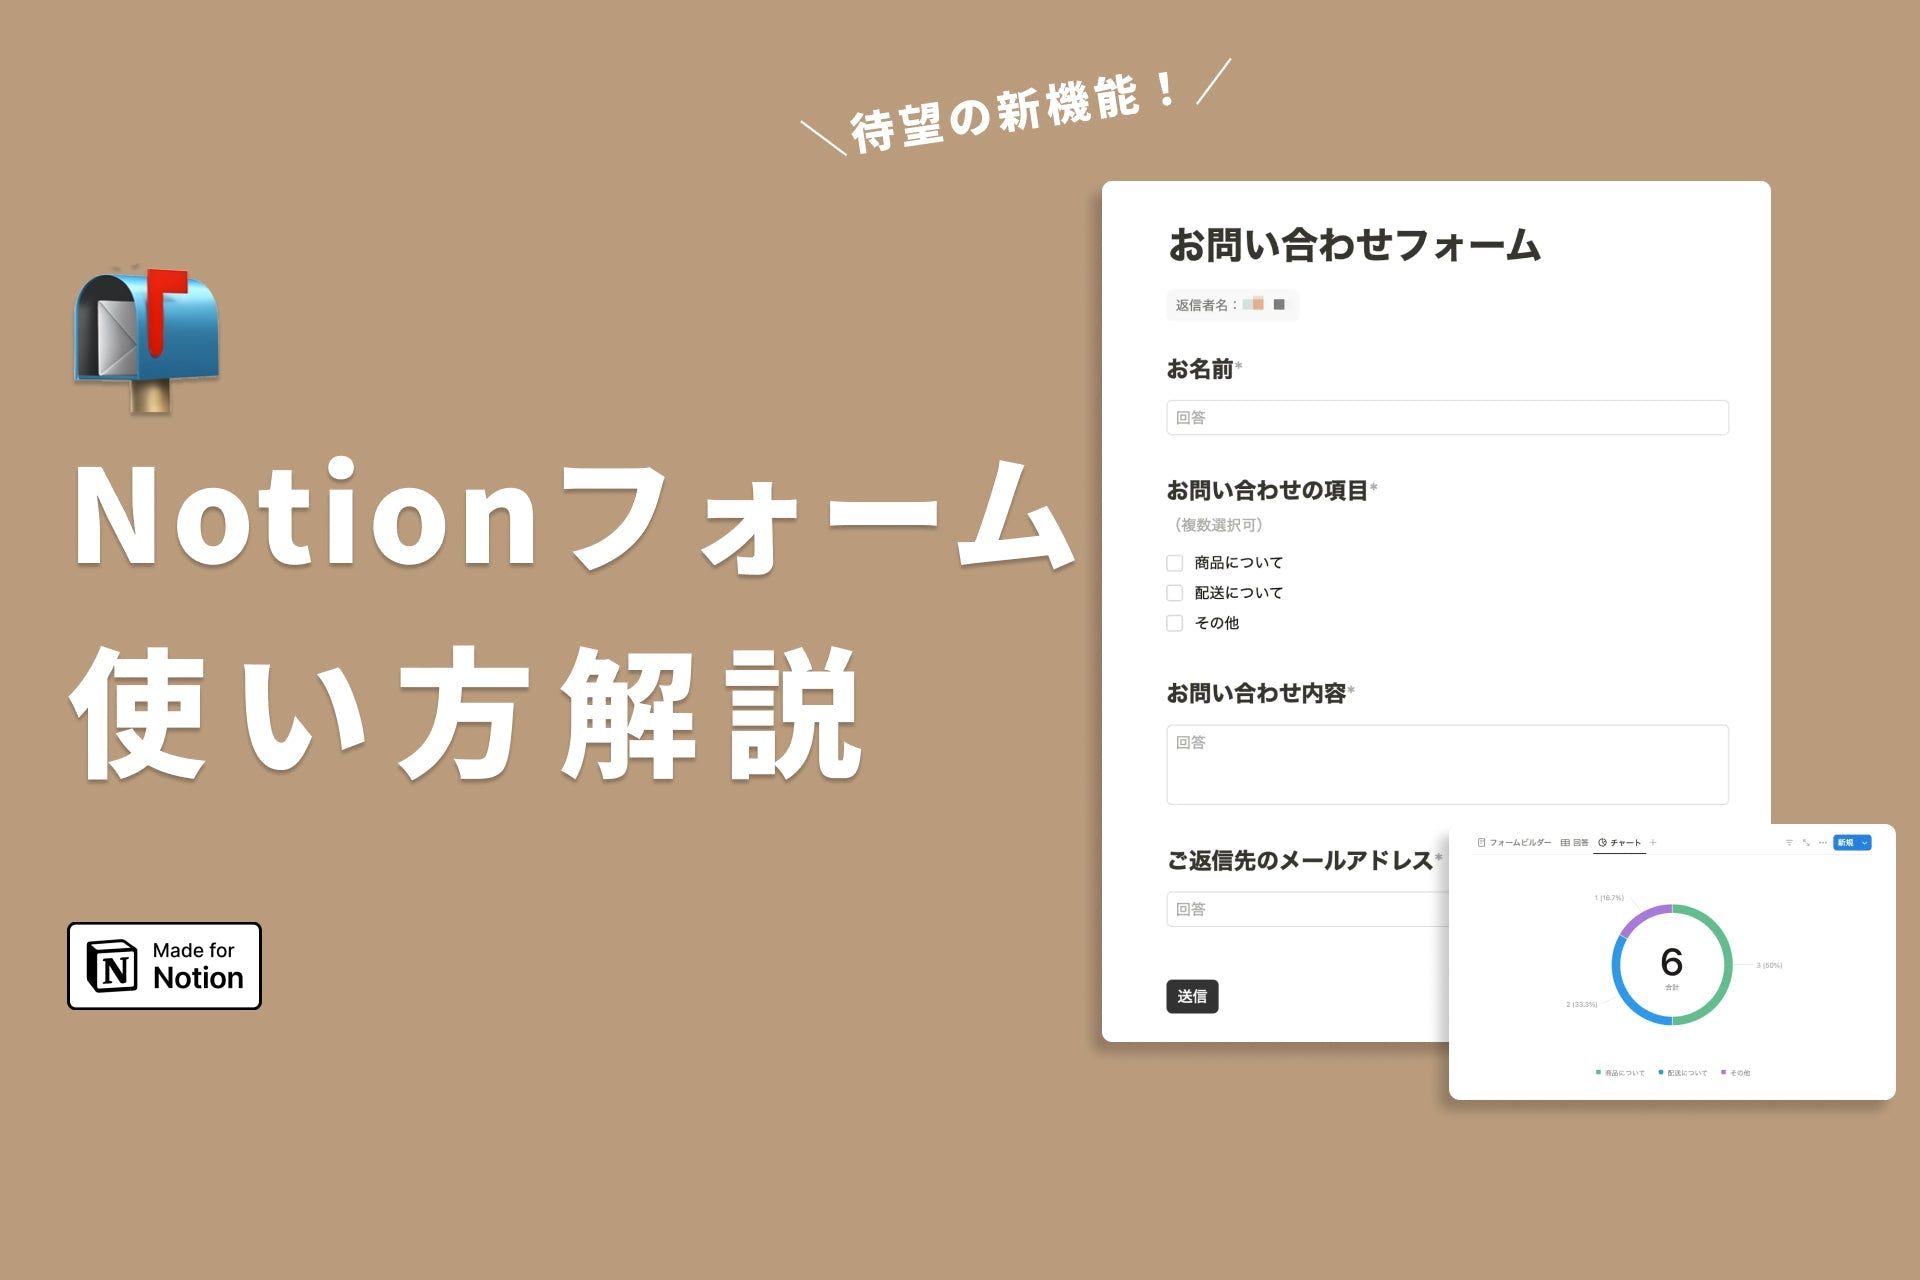
Introducing Notion Forms, a new feature in Notion!
Various functions and We will clearly explain how to use the form, from how to create it to how to publish it.

🎬 Director: Rei
✍🏻 Writer: Mino Kurumi
1. What is a Notion Form?
"Notion Forms" is a feature that allows you to create survey forms similar to Google Forms within Notion.
The form you create can be published via a URL, or embedded on another page in Notion.

Image of creating a Notion form
The best feature of Notion Forms is that you can create forms on Notion and store responses in Notion .
Previously, if you wanted to embed a form on a website created with Notion, you had to use an external tool like Tally, but now you can do it all in Notion.
Responses are also stored in a database, making this a perfect tool for companies and individuals who use Notion to compile information.

💡 Examples of how to use Notion Forms
- Use it as a standalone page for a survey or inquiry form
- Place a form anywhere on your Notion website
- Use it as a database input form within your team (easy to use even for people who are not familiar with how to use it)
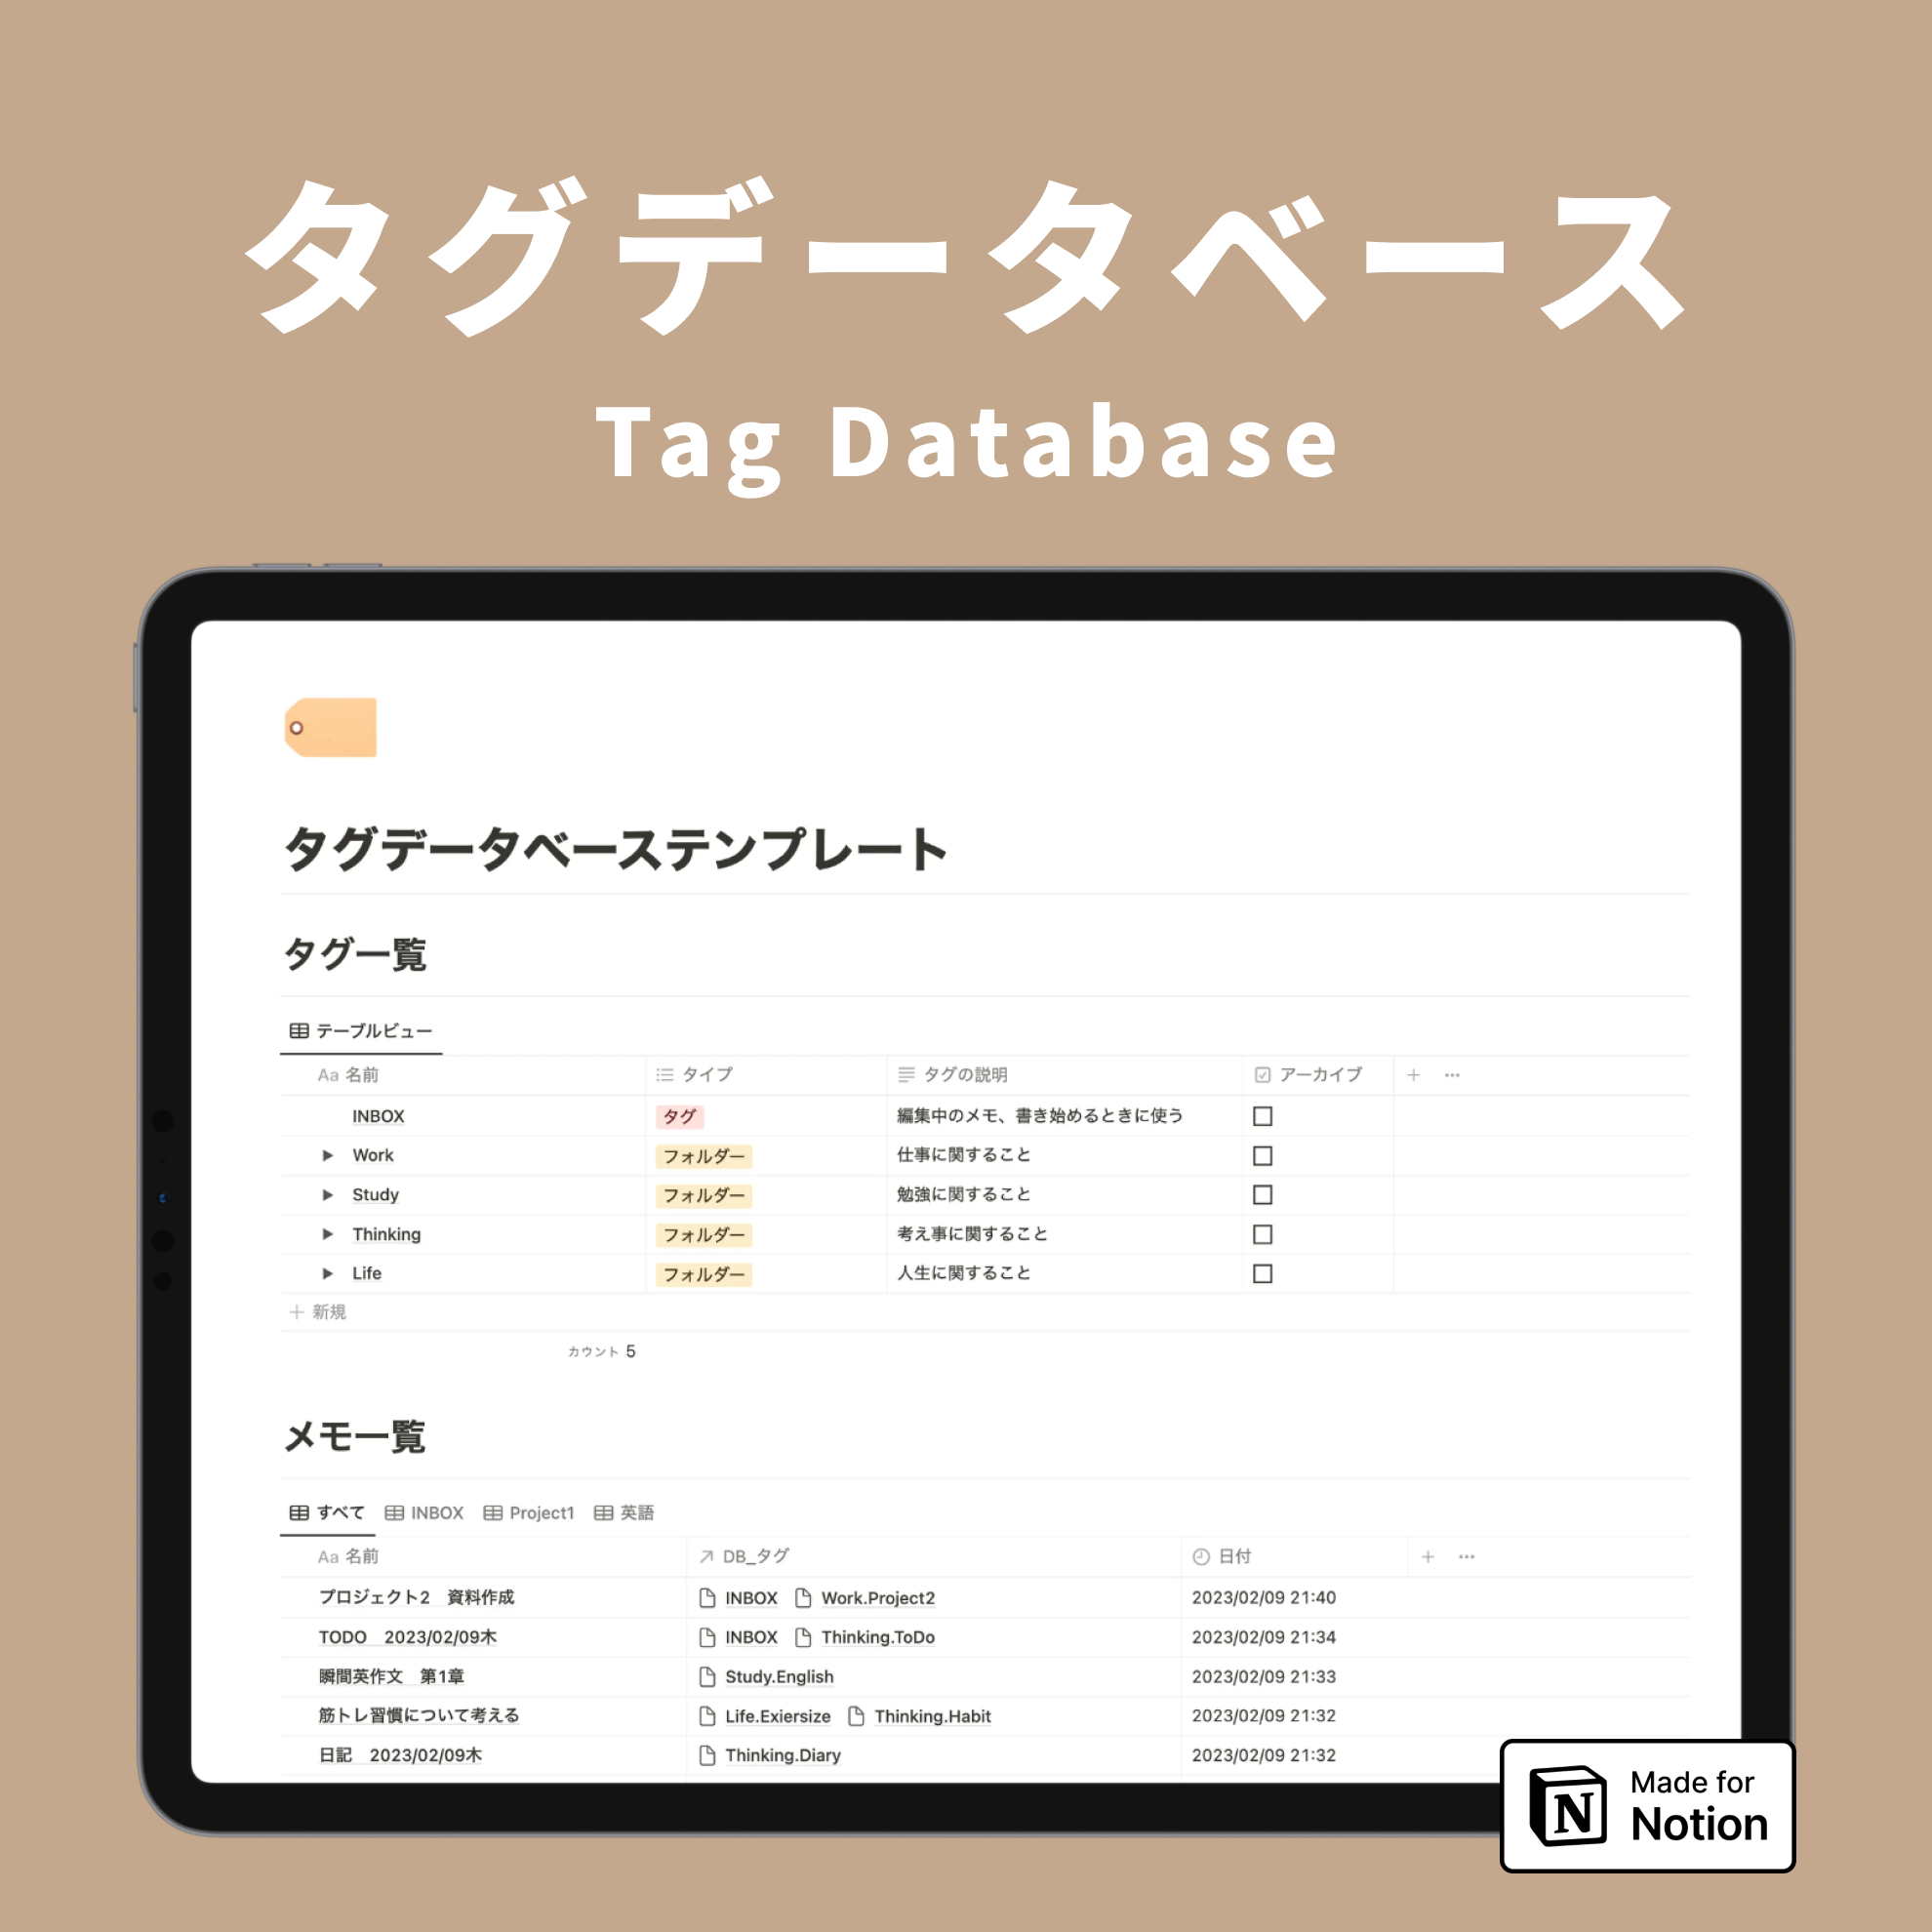
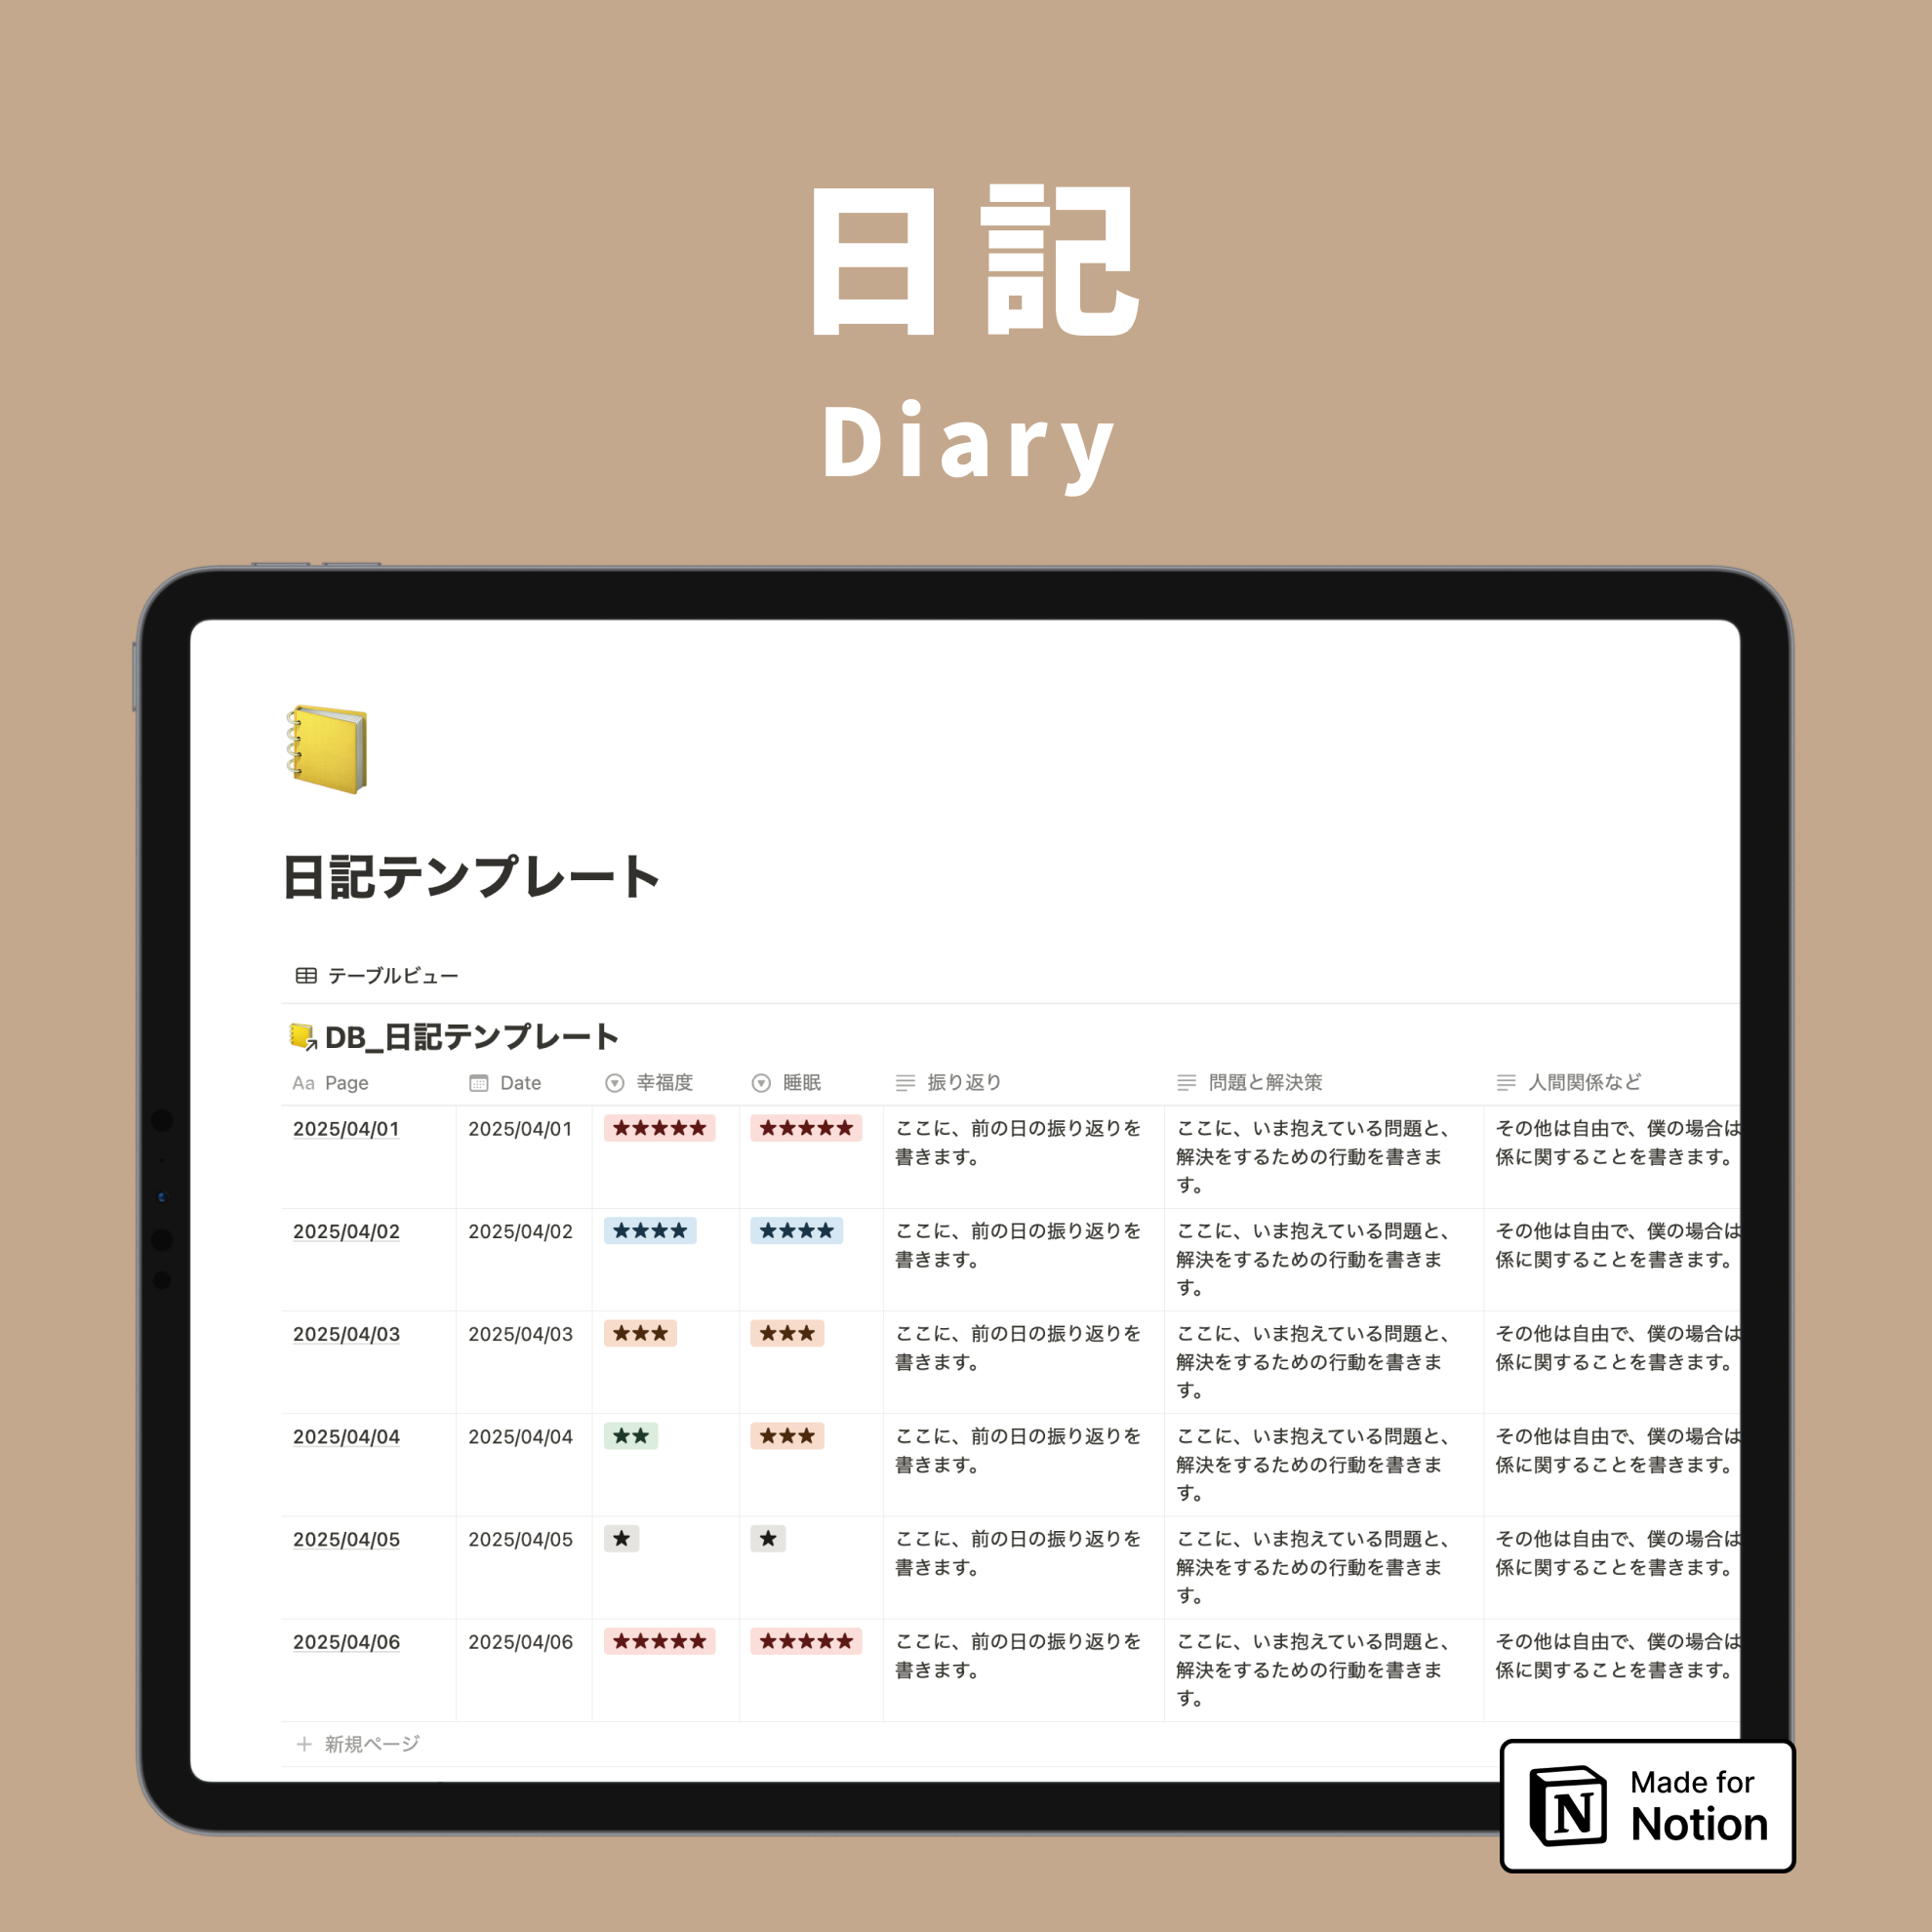
- Used for personal daily diary and habit recording
2. How to create a form
There are two ways to create a form function:
① How to create a new form (create a new database)
→If you want to create a database to store answers
②How to create using an existing database
→If you want to store answers in a database you already use
① How to create a new form (create a new database)
1. Selectフォームfrom the + button on the page, or enter the shortcut /form

2. A form and a database containing responses will be created as a set.

②How to create using an existing database
1. Click + button in the upper left corner of the database you want to create a form for and selectフォーム.

2. A pop-up will appear, so click ●件の質問を作成

3. How to add a question
Once you've created your form, add questions to it in the following ways:
1. Click the + icon at the bottom of the form

2. Select the question you want to add and add it

You can change the order of the questions you have created later by dragging and dropping them.
4. Types of questions and answers
There are a total of 10 types of questions that can be added to forms (as of December 2024).

- text
- Multiple choices (multiple answers can be disabled)
- date
- User (selected on Notion)
- Files & Media
- numbers
- Checkbox
- email address
- URL
- phone
When you add a question, the properties of the same item are automatically added to the database.


Each question type you select here is linked to an answer property, just like adding a "Number" question in the example would add a "Numeric" property to your database.
You can check which property each question is linked to by clicking ••• →対象プロパティを表示するin the upper right corner of each question.


5. Customizing Questions
Click ••• in the top right corner of each question to change options such as "Required" and "Explanation."

- Required: If checked, the answer will be required (an * will be displayed)
- Description: Turn on to add a description for the question
- Maximum number of choices: You can choose multiple choices or only one only if you select "Multiple Choice" question
6. Publish the form
Once you've completed your form, you can get the URL by clickingフォームの共有in the top right corner.

There are three options for form visibility:
💡Form visibility settings
- People who know the link on ●●'s Notion (only members in your workspace)
- Anyone on the web who knows the link
- No access
You can also embed the form in another page published in Notion by pasting the link you obtained into Notion and selecting埋め込み.
7. Other useful features
Notify via email or Slack
Use automations to receive notifications via email or Slack when someone responds to your form.
Example: How to send email notifications
1. Click the ⚡️ mark in the upper right corner of the form

2. Select "Add page" as the trigger

3. Enter the following in the Action field and click Create.
- To: Email address to which you want to send the notification
- Subject: Email subject
- Message: The body of the email

💡By selecting the page properties added from
@→トリガーページat the bottom right of the input field, you can include the response content directly in the email.

You can create multiple automations, so you can send different email notifications to different people at the same time.
Graph your answers
By combining it with Notion Charts, you can also display responses as a graph, just like in Google Forms.
Charts can be created by selectingチャートfrom the + button in the upper left of the database.

Learn more about the chart here!
🔗https://kurashi-notion.com/blogs/notion/notion-chart
summary
That's it for our introduction to Notion forms!
It can be used for business purposes by companies or teams, and can also be used by individuals as an input form for diary entries and habit management, so please give it a try.
Click here for a list of Notion templates available on "Notion in Life"!

The book "Notion Life Hacks" is now on sale! It includes 36 templates and provides plenty of practical tips on how to use Notion.

We also introduce how to use Notion and specific examples of its use on YouTube, so please take a look if you're interested.

We will continue to provide information about daily life and Notion to help you get the most out of your busy days.
Thank you for reading to the end!
See you in the next article.


![[Study Group Report] We held a Notion Formula Study Group!](http://kurashi-notion.com/cdn/shop/articles/2510_notionblog_formulaseminar_967275ed-a27f-4af8-ab02-34ca3ee3f96a.jpg?v=1762425140&width=1920)