💡The " Notion Life Community " is now open!
By subscribing, you can read all paid articles , and you also get benefits such as Notion support for questions and study sessions . Click here to join the community where you can connect with many Notion users!
When you find something you want on a shopping site, where do you make a note of it?
When you add items to your favorites on various sites, such as Amazon or Rakuten, it can be a bit inconvenient because you can't see them all at once.
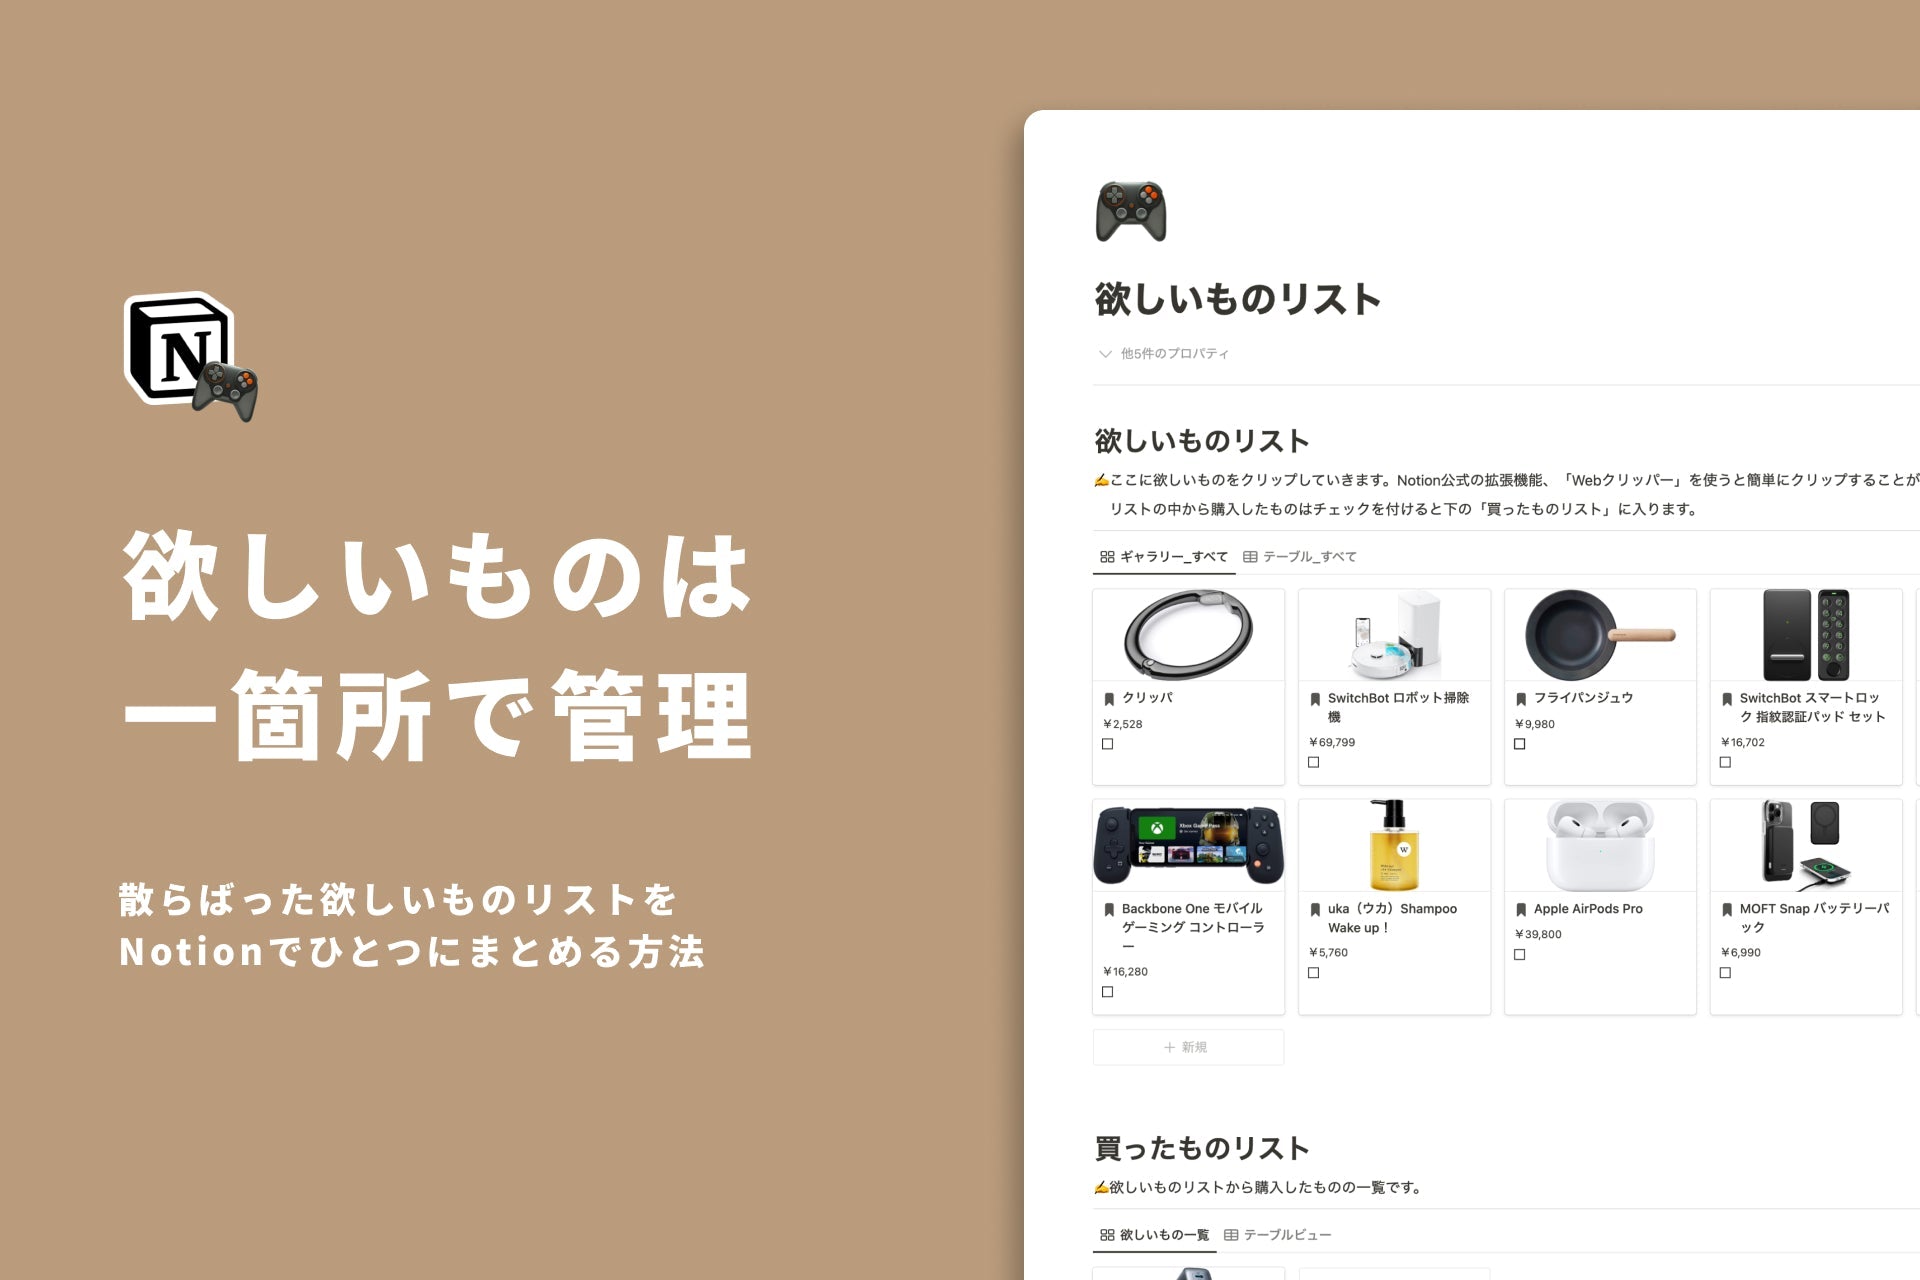
This time, we'll introduce you to a "wish list template" that will help you organize all those scattered wish lists in one place: Notion!

It can also be used as a list of things you need to take, as it can manage not only the things you want but also the things you have bought at the same time.
🎬 Director: Rei
✍🏻 Writer: Mino Kurumi
1. Register your wish list
First, add the items you have clipped from multiple shopping sites such as Amazon and Rakuten to your "wish list."
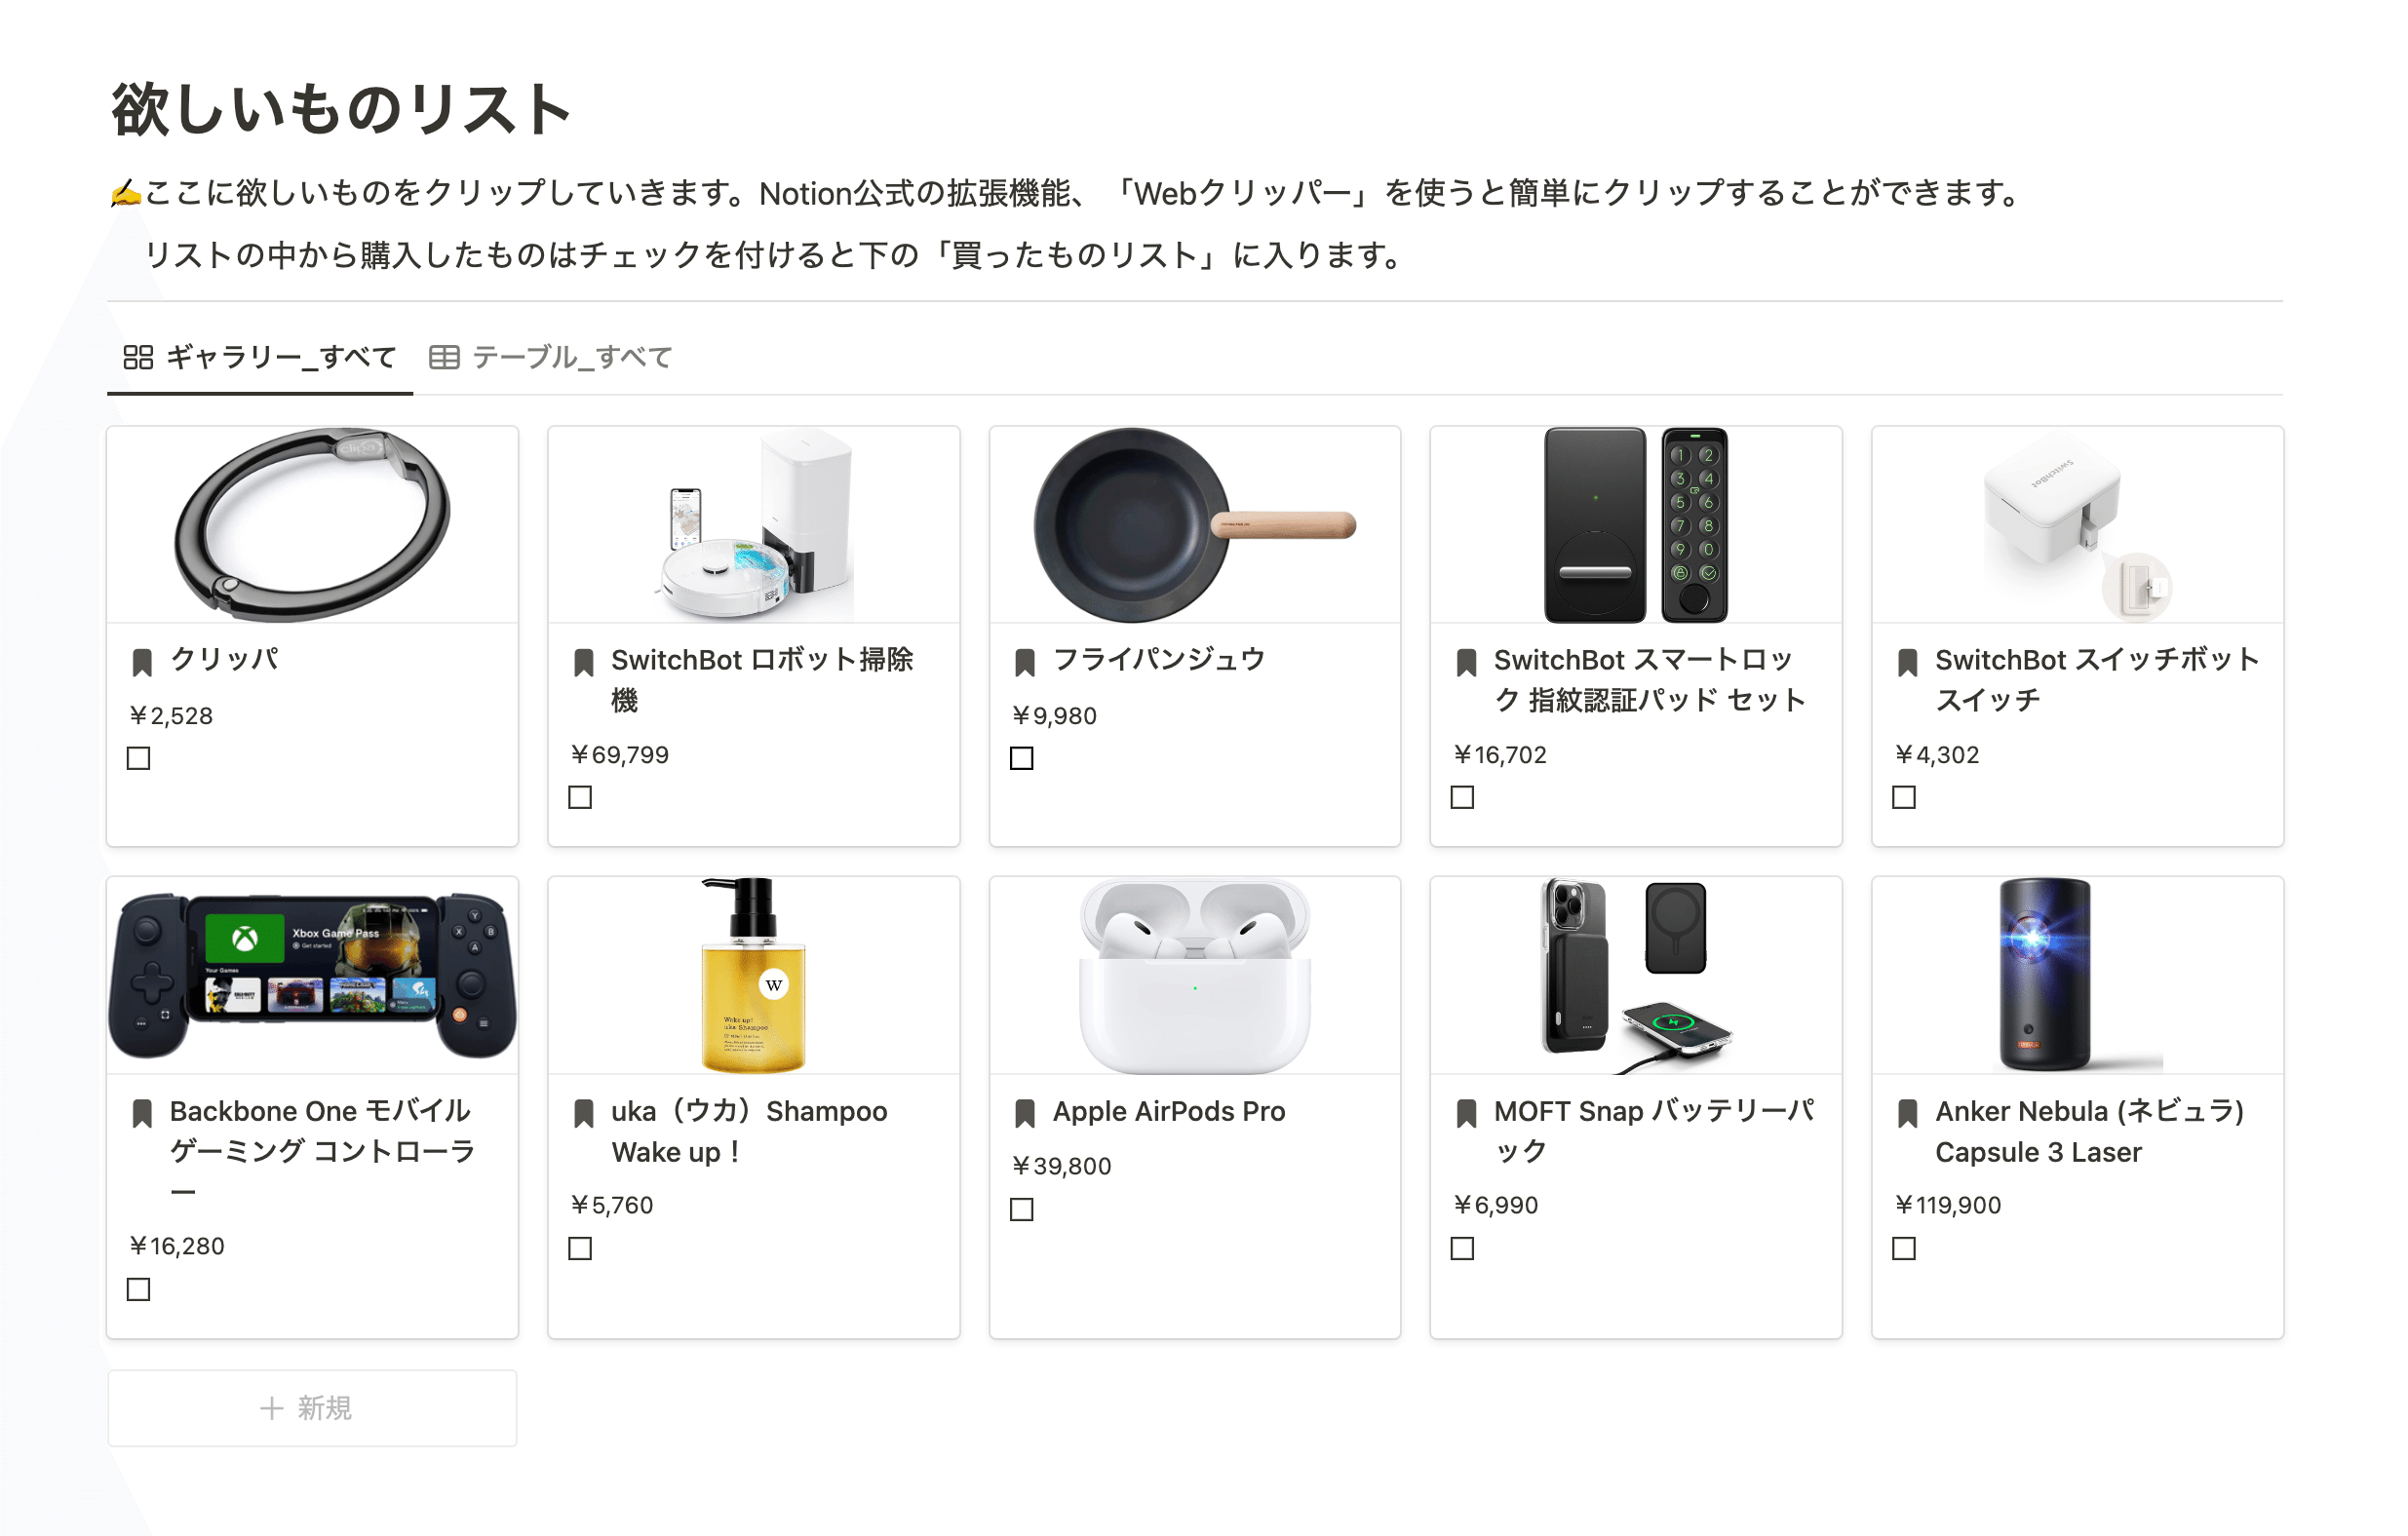
There are two ways to register.
1-1. Manual registration
First, let's start with the most standard method: manually adding items to your wish list.
- Create a new page in the "Wish List" database
- Enter the product name in the title
- Select a product category
- Enter your price
- Enter the URL of the sales page
- Put a photo on the page

1-2. Use official Notion extensions
The method I recommend most is to use the extension " Save to Notion ."
This is an extension that we previously introduced in our explanation of the Web Clip template, but it can also be used to conveniently register items on your wish list!
🔗How to bookmark websites you want to read later with Notion.
The convenient feature of this extension is that you can easily register what you want from the sales site page and automatically save images.
✉️ How to use Save to Notion
- Download Save to Notion (Pin it for convenience)
- Click the extension icon on the site you want to save
- Select "DB_Wishlist" as the save destination
- Change article title to "Page title"
- Select "Select image" for the content image and click on the product image on the page (Amazon allows you to save it by selecting the image of "Frequently purchased together items")
- Select "Webpage" in Content
- Select other properties such as category (if not available, add them from "Add Nes Field" on the settings screen)

Please use the extension and add items to your wish list.
From here, we'll introduce some ideas for making better use of templates, such as how to move items you want to your "bought list" and how to narrow down your search for products !
2. Add it to your shopping list
Once you have purchased an item from your wish list, you can move it to your "bought list." The process is very simple; just check the box.

In fact, the "wish list" and "bought list" use the same database. They are filtered based on whether or not an item is checked, so simply checking an item moves you to the "bought list."

💡Click here for an article that explains in detail about "databases"!
If you make use of the "purchased items list," you can compare the items you already have when you want to buy something new, and you can avoid making the mistake of "I already have something similar!"
3. How to get more out of templates
Here are some ideas to help you make the most of your templates.
3-1. Narrow down your search to find the product you want
As you register more and more products, it can become difficult to find them using just images. In such cases, try using the "Table View" tab and "Filters."

For example, if you want to search for products in the smart home category, you can filter by the category "smart home." Then, only products in that category will be displayed, as shown here.
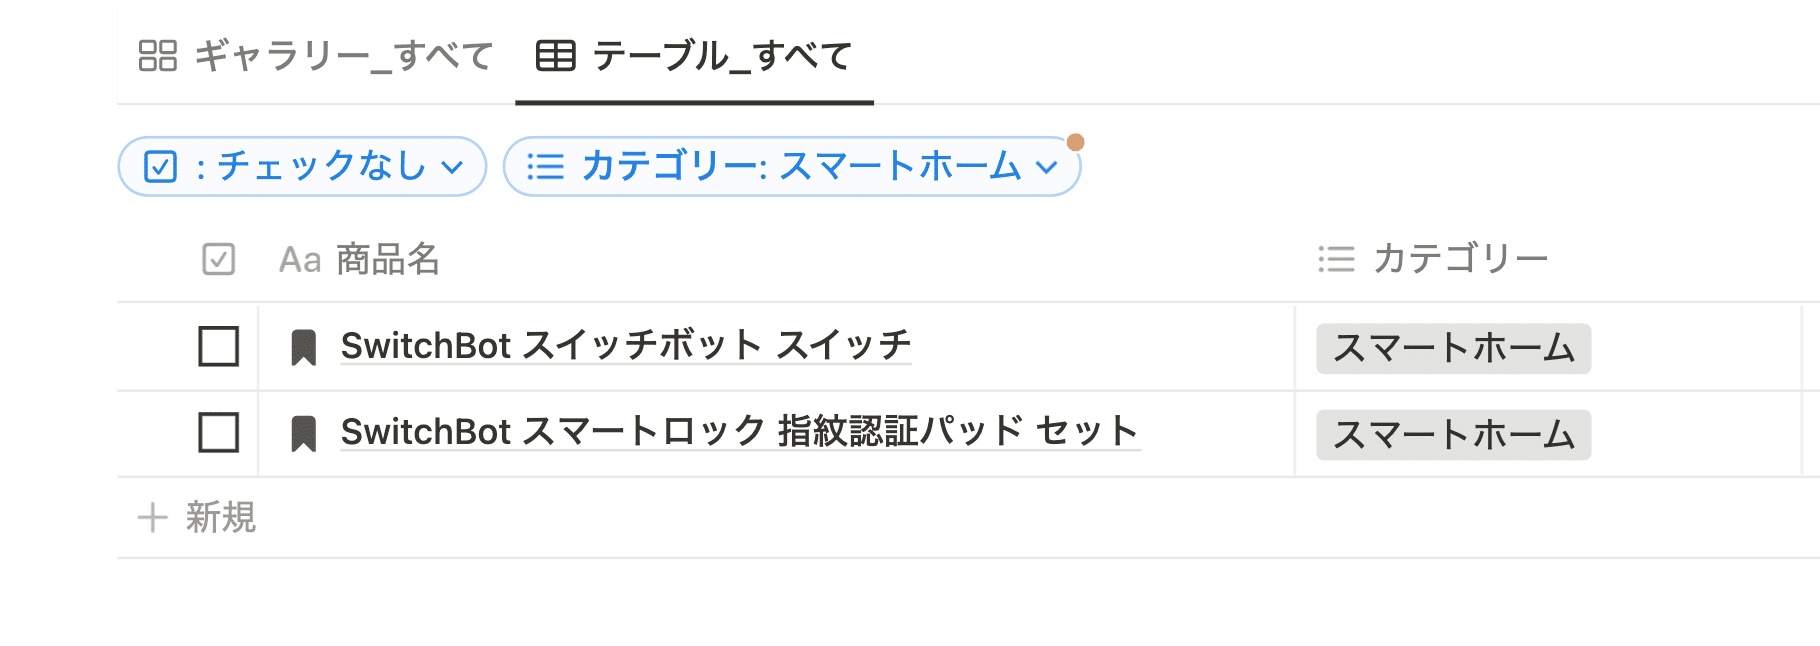
Being able to narrow down your search is useful when you want to compare products in the same category!
3-2. Keep a record of what you buy
If there are categories you frequently buy, such as gadgets or hobby supplies, you may often find yourself forgetting what you've bought in the past.
The "Shopping List" can be completed by simply checking off the items you have purchased, and can also be used as a list of things you need to bring.
It's also recommended to use it as a memo when recommending something to someone or posting about something you've bought on social media.
To customize the list, you can add a "rating" property to leave your own comments, or tag things you want to get rid of or replace. Try arranging the list to make it easier for you to use!
summary
This concludes our introduction to the wish list template in Notion, which allows you to manage all the things you want in one place!
Having everything you need in one place can really simplify your mind, so why not give templates a try?
Click here for a list of Notion templates available on "Notion in Life" !

The book "Notion Life Hacks" is now on sale! It includes 36 templates and provides plenty of practical tips on how to use Notion.

We also introduce how to use Notion and specific examples of its use on YouTube, so please take a look if you're interested.

We will continue to provide information about daily life and Notion to help you get the most out of your busy days.
Thank you for reading to the end!
See you in the next article.


![[Study Group Report] We held a Notion Formula Study Group!](http://kurashi-notion.com/cdn/shop/articles/2510_notionblog_formulaseminar_967275ed-a27f-4af8-ab02-34ca3ee3f96a.jpg?v=1762425140&width=1920)